Spring is in full swing. Although the clouds and cold temperatures are finally behind us, the sun is revealing all of the damage that winter can inflict on your masonry chimney. The freeze/thaw cycle can wreak havoc on your chimney if you haven’t taken the proper steps to protect it from moisture. Over time, brick will start to chip and crack, mortar will crumble, and your chimney can look dull.
Tuckpointing is a proven masonry technique that can restore your chimney to its full former glory. Yet, while tuckpointing will improve the appearance of damaged brickwork, it’s not only a cosmetic process. By removing compromised mortar, you can shore up the structural instability of your chimney and extend its lifespan.
Before you reach for a chisel and clear your weekend schedule for a DIY tuckpointing project, remember that tuckpointing is a lengthy and intricate process. If you don’t do it correctly, you can leave your chimney even more exposed to water damage and other issues.
Instead of rolling the dice, get in touch with Smalling Masonry. We’re the go-to team of masonry experts in Greater Indianapolis. Call us today at 317-903-8121 or reach out to us online for more information.
How Can I Tell if My Chimney Needs Tuckpointing?
Masonry is designed to stand the test of time, but after years of exposure to the elements, it can look a bit worse for wear. But how do you know if your chimney’s weathered appearance is only standard wear and tear or if you need professional intervention?
Take a good look at your chimney. You can tell tuckpointing may be in order if the mortar between the bricks is crumbling or cracked. This can often appear as flaking or missing mortar. In some instances, the mortar itself may look dull or there is a noticeable difference from its original color. If there are any gaps between the bricks or other signs of water damage like rust or stains on the chimney’s exterior, that’s another key indicator that it’s time to call in the reinforcements from Smalling Masonry.
How Does Tuckpointing Work?
Tuckpointing is a multi-step process. Here is what you can expect:
- We’ll start by using a hammer and chisel or a grinder with a special attachment to carefully remove old, damaged mortar.
- Next, we’ll clean the existing joints to ensure a good bond with the new mortar.
- We’ll prepare a new mortar mix that closely matches the color and composition of the existing mortar for a seamless look.
- With the new mortar ready to go, we’ll use specialized tools to apply the mortar into the cleaned-out joints. This is a painstaking task as we take our time to pack the joints and scrape off excess when needed.
- After the newly applied mortar has dried some, we’ll shape the joints by tooling them to create the desired finish.
- Once the mortar fully cures, we’ll thoroughly clean the chimney to remove any leftover debris. A water repellent will then be applied to the chimney exterior for additional protection from the elements.
How Long Does Tuckpointing Typically Take?
Depending on the size and current condition of your chimney, it can take anywhere from a half day to several days to complete tuckpointing on your chimney. A small residential chimney may be completed in a single afternoon. On the other hand, a larger multi-story chimney or one in need of more extensive repairs may take a few days – sometimes, it can take as long as a week.
Weather also plays a big role in the length of time. We don’t recommend tuckpointing in the winter as it can slow down the drying process. Warmer weather promotes faster curing so if you think your chimney needs tuckpointing, now is the time to reach out to Smalling Masonry about booking an assessment.
What Can Happen if Tuckpointing Isn’t Done Correctly?
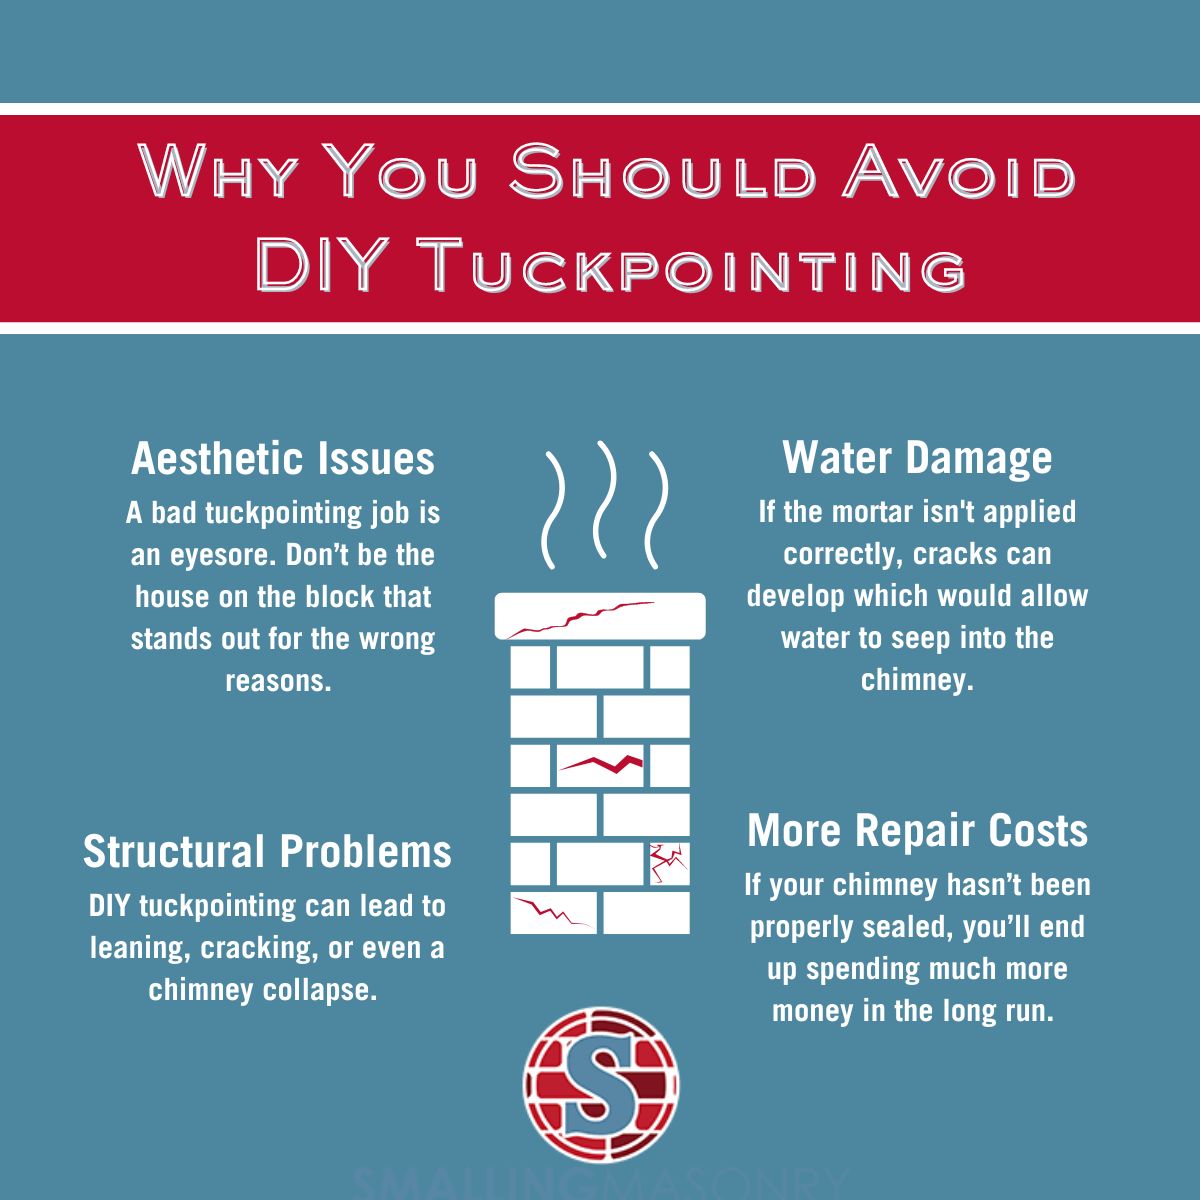
Tuckpointing can take an ugly turn when it isn’t done properly. It may not come as a shock, but most tuckpointing horror stories come from botched DIY attempts with problems ranging from cosmetic to structural. These are some of the ways things can go wrong when you try to take matters into your own hands:

- Aesthetic issues. It’s not hard to spot a bad tuckpointing job. It takes time and the skilled eye of a professional to recreate the right color and texture to blend the new mortar with the old.
- Increased vulnerability to water. One of the main purposes of tuckpointing is to protect your chimney by sealing out moisture. If the mortar isn’t applied correctly, cracks can develop which would allow water to seep into the chimney.
- Structural problems. Tuckpointing should help restore your chimney’s structural integrity. When it’s done haphazardly, it can lead to leaning, cracking, or even a collapse.
- More repair costs. DIY repairs are an attractive option to many homeowners because it’s an opportunity to save money – but that’s not completely accurate. If your chimney hasn’t been properly sealed and it’s forced to take on water damage, you’ll end up spending much more money in the long run.
Trust the Tuckpointing Experts at Smalling Masonry
When it’s time for a tuckpointing job, it’s best to leave it up to the professionals. Get in touch with us here at Smalling Masonry if you notice your chimney is looking a bit rough around the edges. Call us now at 317-903-8121 or click here to contact us.
